For World Ferment Day, we’ve got something very special for you.
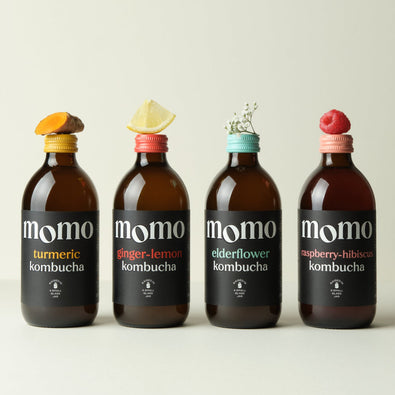
This is our guide to making kombucha, the MOMO way. All you need is elderflower, tea, sugar… and a bottle of MOMO.
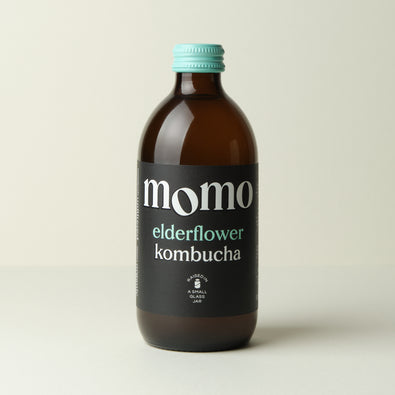
This is an adapted form of the recipe we use to make our own Elderflower Kombucha, designed for you to make it simply from home. We recommend using quality ingredients, specifically organic loose-leaf tea and organic cane sugar for best-tasting results. The process works just as well with tea bags and non-organic ingredients, but the flavour may vary.
Brewing with live cultures (and no pellicle)
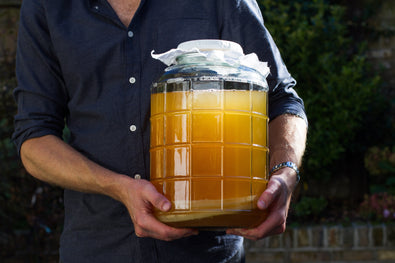
Because MOMO is raw and completely unfiltered, it’s a perfect kombucha starter. A live culture of bacteria and yeast is thriving in every bottle, that’s why drinking MOMO supports a diverse microbiome.
You might associate kombucha brewing with the pellicle (or SCOBY); that’s the cellulose disc at the top of a batch. However, you don’t need one to start brewing kombucha. The magic happens in the liquid; the pellicle is a by-product and will grow with time.
For your first brew, we're making a small one litre batch. Think of this as building your foundation. Once it's ready, have a few glasses to try your handiwork, but save most of it as the starter for your next, bigger batch.

What You'll Need
Equipment
-
A one litre jar
-
Fine mesh strainer or muslin cloth
-
Muslin cloth or a clean tea towel (for covering)
-
Elastic band
-
Bottles for storing your finished kombucha (swing-top bottles work best - or reuse old MOMO bottles)
Ingredients for the first batch
-
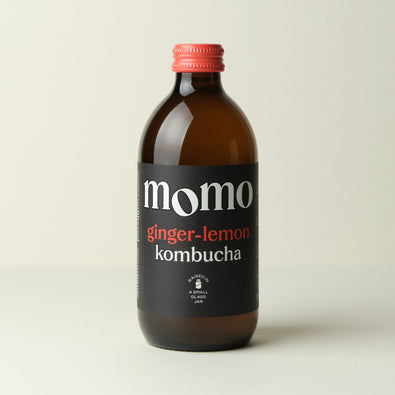
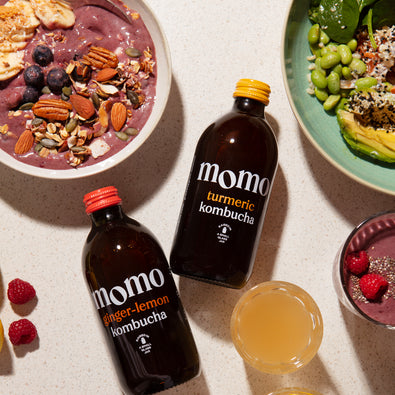
1 bottle of MOMO Elderflower Kombucha (330ml)
Your starter liquid, full of live cultures. Raw, unfiltered, and ready to ferment. -
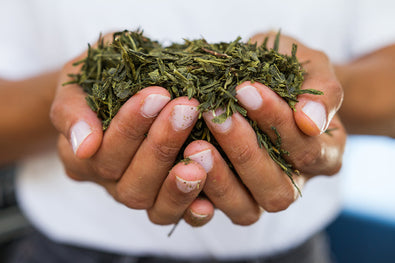
8g sencha tea (loose leaf) - approximately 4 teaspoons
Alternatively use 4 green tea bags -
2g assam tea (loose leaf) - approximately 1 teaspoon
Alternatively use 1 black tea bag -
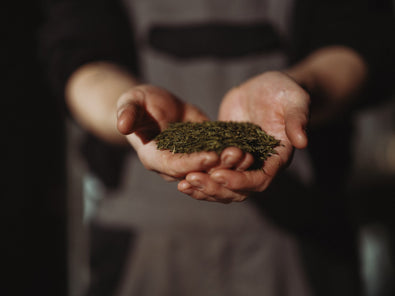
2g dried elderflowers - approximately 1-2 teaspoons
You’ll typically add flavouring after brewing; elderflower holds its flavour beautifully through a round of fermentation. -
75g organic cane sugar
Try not to baulk at the quantity; sugar feeds the fermentation. Kombucha cultures consume most of the sugar during the brewing process, transforming it into complex, tangy flavours. -
~660ml filtered water
Half is boiled to make the tea, the remainder is chilled. Mix together after brewing to bring down the temperature faster.

The process
Step 1: Brew your tea
Boil the kettle, and pour around 330ml over your elderflower and tea leaves. Let it steep for a full 15 minutes. You want a really strong tea - fermentation will change the original flavour, eroding bitterness and creating depth.
After 15 minutes, strain out all the tea leaves and elderflowers through a fine mesh strainer, pouring into your 1L glass jar. Add your sugar to the hot tea and stir until completely dissolved.
Step 2: Cool it down
Add around 330ml of cold filtered water to your sweet tea. Check the temperature - you want it to cool to 30°C. That’s the sweet spot, ensuring maximum microbial activity. Higher than 40°C and your culture will die off.
If it's still too warm, let it sit for a few minutes. Use a clean thermometer if you have one to test - if not, take a sip with a spoon. You’re looking for the warm side of tepid.
Step 3: Add your starter
Add the entire bottle of MOMO Elderflower Kombucha into your 1L jar. This is your starter liquid - it contains all the live cultures and beneficial bacteria needed to ferment your brew.
You might notice sediment at the bottom of your MOMO bottle. That's the good stuff - all those live cultures. Add it all in.
Step 4: Cover and wait
Cover your jar with muslin cloth or a clean tea towel, secured with an elastic band. This keeps debris and insects out while allowing the kombucha to breathe - fermentation needs oxygen.
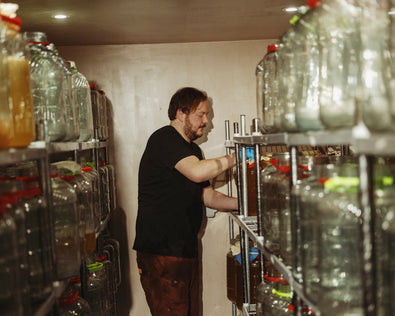
Place your jar somewhere warm, but out of direct sunlight. A kitchen cupboard, top of the fridge, or quiet corner works well. In the brewery we brew at 28°C, lower temperatures work just as well, you’ll just need to wait longer.
In a typical UK household at 18-22°C, your first batch will need 10-21 days to ferment, depending on temperature and how tart you like it.
Step 5: Taste and bottle
After 10 days, start tasting your kombucha. Use a clean spoon to take a small sample from the top. It should taste pleasantly tart and slightly sweet - the balance is up to you. The longer you leave it, the more vinegary it becomes as the cultures consume the sugar.
When it tastes right to you, it's ready to bottle. Pour your finished kombucha into clean bottles, leaving about an inch of headspace. Seal tightly.
Important: Save 200-300ml of your finished kombucha as starter for your next batch. Store it in a sealed jar in the fridge. This starter is now more acidic and full of active culture than your original MOMO bottle - it's perfect for brewing larger batches.

What you'll notice
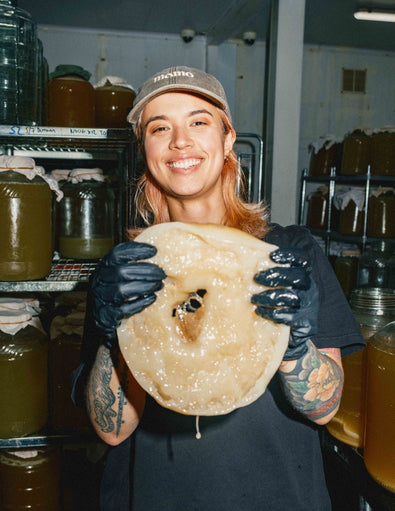
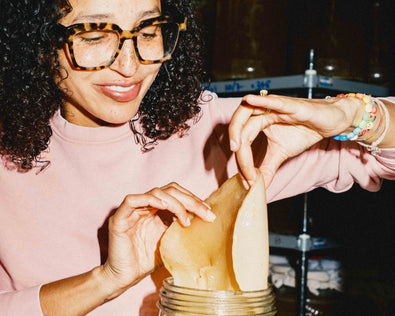
The pellicle
During fermentation, you should see a thin, pale film forming on top of your kombucha. This is the cellulose pellicle forming naturally, a by-product of the process. It's completely normal and signals a healthy brew.
You can remove it, keep it for your next batch, or leave it in - it doesn't matter much. Remember, the fermentation is happening throughout the liquid, not just in the pellicle.
Sediment and cloudiness
Your finished kombucha will likely be cloudy with sediment at the bottom. This is all the live cultures at work. At MOMO, we never filter our kombucha, this is what raw, authentic kombucha looks like.
Taste development
Your homemade kombucha will taste different from MOMO and that's the beauty of it. Each batch is unique, affected by temperature, time, and the specific cultures in your starter. Some batches will be fruitier, some more vinegary. It's part of the process.
Scaling Up: Your second batch
Now that you have strong starter liquid, you can brew a larger batch - 2 litres or more. The recipe scales proportionally:
For 2 litres:
-
16g sencha (8 tsp)
-
4g assam (2 tsp)
-
4g dried elderflowers (2-4 tsp)
-
150g sugar
-
300ml starter from your first batch
-
~1.7L water
Follow the same process. With a stronger starter, this batch should ferment in 7-14 days depending on temperature.
Optional: Second Fermentation for Extra Fizz
Want some carbonation? After your initial fermentation is complete, you can do a second ferment by sealing your bottles and leave at room temperature for 2-3 days.
Second ferments can build up significant pressure. Carefully open bottles over the sink, pointing away from you.

Troubleshooting
My kombucha tastes like vinegar.
You've left it too long. It's still safe to drink, but very tart. You can use it in salad dressings, or use less as starter for your next batch (it's very acidic).
Nothing's happening.
Your environment might be too cold. Fermentation slows dramatically below 18°C. Move the jar somewhere warmer and give it more time.
It smells funny.
Kombucha should smell pleasantly tangy, slightly yeasty, and vinegary. If it smells truly rotten or unpleasant (not just strong), something's gone wrong. Start again with fresh ingredients and make sure everything is very clean.
There's mould on the top.
If you see fuzzy mould (usually green, white, or black spots on the surface), discard everything and start fresh. Mould is different from the SCOBY, it's dry and fuzzy rather than smooth and wet. Mould usually indicates the brew wasn't acidic enough or something wasn't clean.
My first batch is taking forever.
First batches often take longer - 14-21 days is normal. The starter is less potent than it’ll be in subsequent batches. Be patient, keep it warm if possible, and taste it regularly. It'll get there.

Keep Brewing
Once you've made your first batch, you're set up for continuous brewing. Save 200-300ml from each batch as starter for the next one, and you'll always have kombucha on the go.
The process becomes second nature: brew strong tea with elderflowers, cool it down, add your starter, wait, bottle, repeat. It's a rhythm that connects you to one of humanity's oldest food traditions - the simple transformation of tea and sugar into something alive and complex.
If it all feels like too much hassle, don’t worry. There’s always MOMO.